
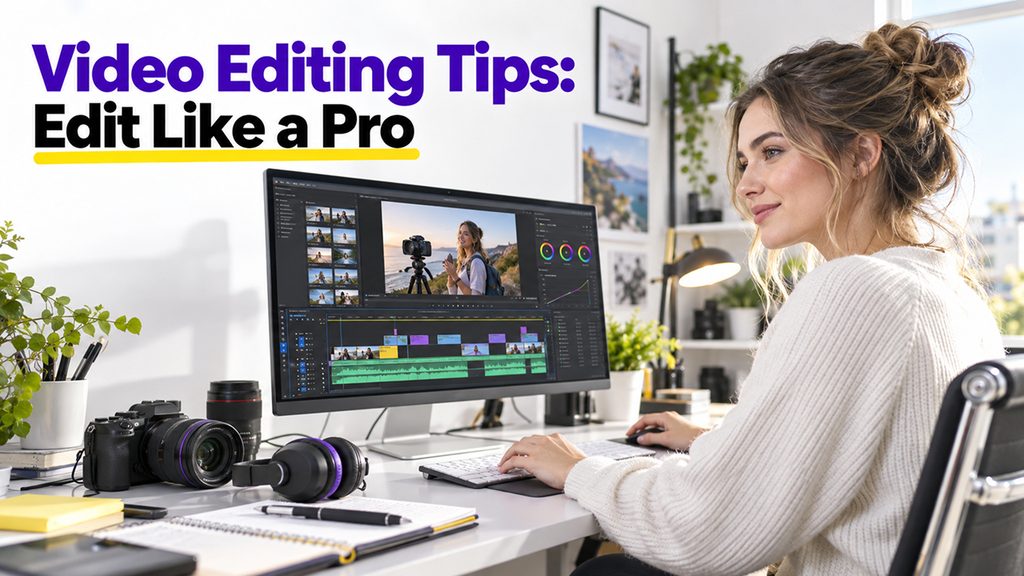
Every high-quality video; whether it is a social media reel, YouTube upload, or a brand promo, is refined as much in post-production as on set. That is exactly where video editing tips start to become valuable. The raw footage only tells you half of the story, and how it is sequenced, trimmed, and layered with sound defines whether viewers scroll away or remain engaged. Editors who comprehend transitions, pacing, and structure consistently create content that feels seamless and more intentional than ones who just cut clips together without a plan.
In this detailed guide, let us walk through helpful video editing tips that apply across various skill and software levels, beginning with basics of what editing really involves, then move into planning, technique, and finishing touches. Whether you are working in a beginner-friendly application or a professional video editing tool, the core principles always remain the same.
What Is Video Editing?
Video editing can be defined as the process of choosing, arranging, and refining raw footages into a completed sequence that communicates a story or a clear message. It involves trimming redundant sections, sorting clips in a logical sequence, or including transitions between various shots, layering audio, correcting color, and applying titles or effects wherever required.
At the core of it, editing is all about clarity and rhythm. A video which is finely-edited naturally captures the viewer’s attention, cuts at the perfect moments, and removes anything that unnecessarily slows down the pace. Proper video editing techniques do not rely on a single software; the core principles remain the same, i.e., continuity, pacing, and clear transitions irrespective of whether someone is working in a professional editing suite or an app.
Create a Detailed Plan Before You Begin Editing
One of the video editing tips that is most overlooked is that great edits start before the timeline is even opened. Editors who make their approach organized in advance spend significantly far less time looking for footage and far more time editing the final cut.
- Review As Well As Sort Footage First: Group clips by angle, scene, or subject, so they are simpler to locate later.
- Label clips Clearly. A naming pattern which is always consistent saves a substantial amount of time on longer projects.
- Create an Outline of the Structure: Even a rough chronology of shots aids in creating narrative flow and avoids disjointed pacing.
- Back up files. Video projects include big media files, so keeping a second copy with yourself ensures good protection against lost work.
For creators who are working on scripted content, tools that help structuring the narrative of video before filming, like an AI script generator, can minimize the guesswork during the stage of planning and make eventual edit a lot quicker.
Core Techniques of Editing for Seamless Cuts As Well As Transitions
Once you have organized the footage, precise sequencing and cutting starts. This is the area where video editing tips emphasize, since transitions and cuts have the greatest visible impact on how professional a video looks:
- Reduce Long pauses: Dead air or unnecessary silence reduces the pace and gives viewers a reason to leave.
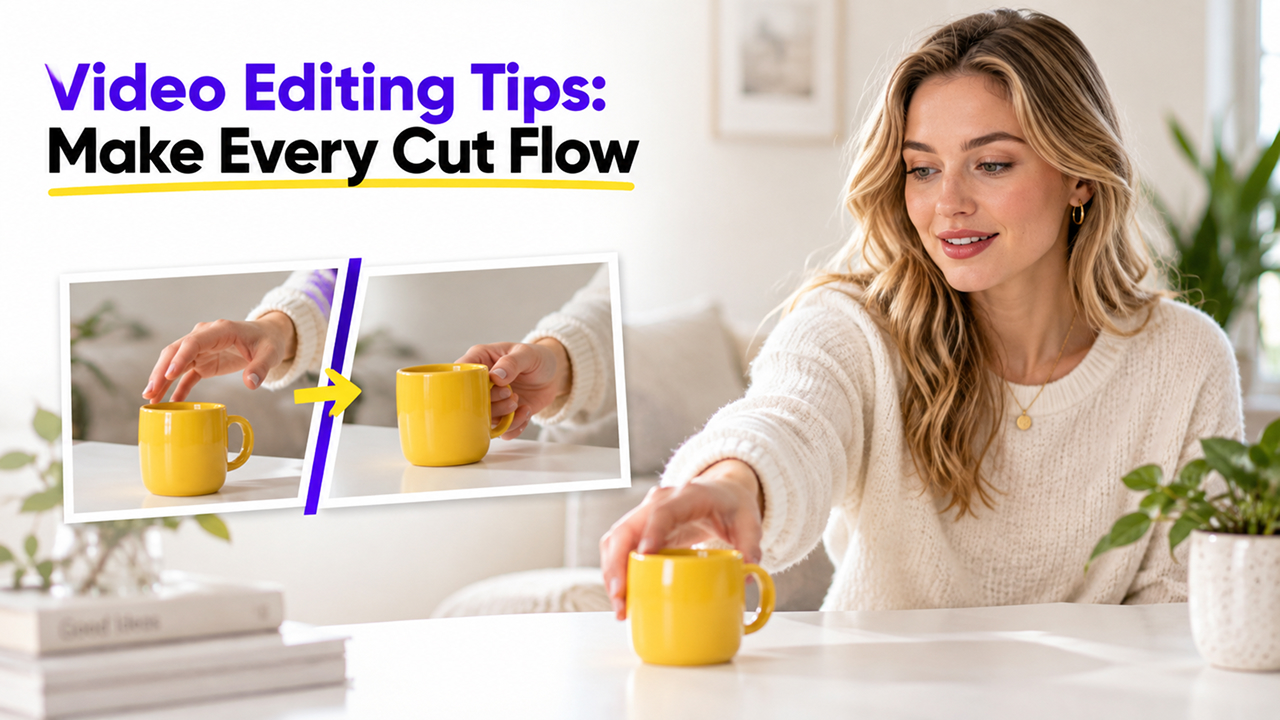
- Align Action Across All Cuts: Aligning movement, like the hand going for an object, ensures that transitions feel continuous instead of jarring.
- Leverage Transitions with Intention: A straight cut tells audience that the time and place is same, while a dissolved cut tells the audience that the time has passed. Choosing the wrong one can make the viewer confused.
- Change the Types of Shot: Mixing close-ups, wide shots, and medium shots keeps a sequence visually strong. However, frequently switching too many times can make the audience feel slightly disorienting.
- Mindfully Apply the Zoom: A small zoom existing between different cuts can make the transition smooth, which is abrupt, specifically in interview-style footage.
Editors who experiment with newer methods of production sometimes turn to AI-driven tools for B-roll generation or early drafts before refining everything in your hand; exploring options like the one covered in guide to AI video generators can be a great starting point for comprehending where automation aligns into a conventional editing workflow.
Refining Color, Pacing, and Audio
Apart from transitions and cuts, the finishing touches are what separates an edit that lacks quality to a polished one. Such video editing tips are generally applied in the final pass, once you have locked in the rough structure:
- Fine-tuning Your Pacing to Match the Tone: Lesser cuts create urgency and energy, while longer holds suit reflective and calmer content.
- Consistently Correct Color: Aligning the color tones across different clips shot at distinct locations or times can ensure that the footage is visually cohesive.
- Balance Different Levels of Audio: Uneven volume between music, dialogue, and effects are one of the most common reasons why viewers disengage.
- Leverage Audio Crossfades: Abrupt starts as well as stops in sound effects or background music can feel slightly jarring without a short fade.
- Look At the Edit When You Are Fresh: Going through a project after a brief break generally reveals timing problems or rough transitions that you would have missed the first time.
Creators developing a complete video production pipeline, including automated editing assistance and generation platforms, may also need to explore a AI video creation platform to check how these tools augment manual refinement instead of replacing it.
Conclusion
Quality editing is less about using every feature your software offers and more about applying a consistent set of principles. Plan ahead, cut with purpose, and fine-tune color, pacing, and audio before considering a project complete. These video editing tips work across different platforms and skill levels, while resources such as Top 10 Video Editing Software can help you choose tools that match your editing needs. With regular practice and a willingness to review each edit, creating polished, professional-looking videos becomes more manageable and consistent.
Frequently Asked Questions
Q1. What is video editing?
Video editing is the overall process of choosing, arranging, and optimizing raw footage and turning into a final sequence. Trimming clips, layering audio, adding transitions, and correcting color to create an engaging and clear story.
Q2. Why is planning significant before you start editing?
Sorting as well as labeling footage, creating a structure of the outline, and ensuring back-up of files in advance saves time and aids in maintaining narrative flow once you begin cutting.
Q3. How do I ensure that transitions and cuts are smooth?
Match action across cuts, trim dead air, and purposefully use transitions (straight cuts vs. dissolves), and change types of shot without overdoing it.
Q4. What type of role can the pacing play in editing?
Pacing gives you the right tone. Shorter cuts create a sense of urgency and energy in the shot, while longer holds is more suitable for a more reflective and calmer content.
Q5. What type of final touches can make an edit look more polished?
Balanced audio levels, consistent color correction, seamless audio crossfades, and reviewing the edit with fresh eyes can catch missed timing issues.